![[Select]](../images/ro6doc.gif)
![[Select]](../images/ro6doc.gif) |
Configuration System: Display |
 |
DisplayThe Display section lets you configure the video driver, monitor, default screen resolution, number of colours and the screensaver you wish to use. Click the Display icon to open this window. 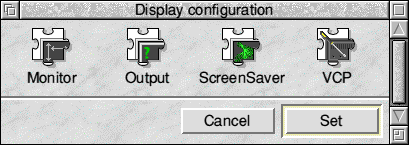 You will see that compared to earlier versions of RISC OS there are more options available. These options allow you to configure RISC OS to suit your needs. The following sections explain both how the system works and how to set it up. The first icon in this options window controls the physical display device, typically a CRT or LCD monitor. 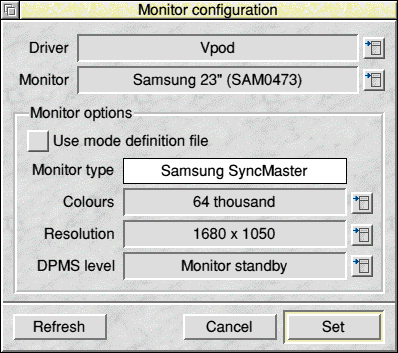 If you purchase a monitor from a RISC OS dealer, they may supply you with a special Mode Definition File (MDF). If you drag and drop a MDF onto this window it will be imported and appear on the menu so that you can select it. The Monitor configuration window requires some explanation. Firstly you can select the Driver that you wish to configure your monitor for. For example if your RiscPC has a Vpod or ViewFinder you can configure the Vpod / ViewFinder and the VIDC options. If the hardware you are using supports the feature (ViewFinder, SM50X) then you can set RISC OS to automatically detect the make and model of monitor and select the correct MDF. For such hardware you can click Refresh (or press Ctrl R) to force the drivers to check what monitor is connected. This option also re-checks for available MDFs. If your hardware cannot automatically detect the monitor (VIDC and VirtualAcorn) then you can select an MDF from the list available. Once you have selected an MDF you can then set the default resolution and colour depth. With a normal Risc PC using VIDC there is a trade-off between these two values as only a limited amount of memory is available for the video display and the larger the screen resolution the fewer the number of colours you can use. This restriction will not apply if you have a Vpod, ViewFinder or are using a VirtualAcorn or A9 computer. With machines such as an Acorn A7000, RiscStation or Mico you should be aware that there will be a considerable speed penalty in higher-resolution screen modes. The higher the resolution you choose the slower the machine will perform. Click Set to confirm, or Cancel to cancel your settings. The next display configuration option allows you to select the default output device. 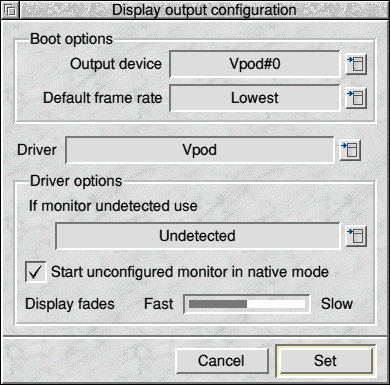 From this window you can configure the default video driver. The Output device option allows you to set which video device will be used when you start your computer. You can also set the preferred framerate to use when it's not specified. Older CRT displays prefer higher rates, whilst modern LCDs prefer lower. Some drivers may have additional options, such as controlling how a new monitor should be used, or control the speed of desktop fades (the fade that happens when you change screen mode). These can be set for any Driver using this window. Click Set to confirm, or Cancel to cancel your settings. Clicking the ScreenSaver icon opens this window. 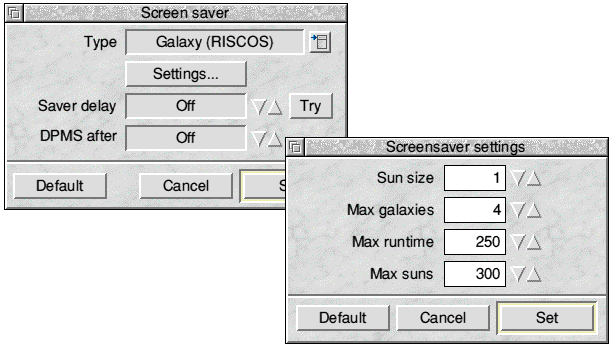 From the 'Type' menu select the screen saver you require, then click 'Settings'. Each screen saver has its own set of settings available that control the speed and form of the screensaver on the screen. Change them to suit your own needs then click Set. The Saver Delay controls the time between lack of activity and the launch of the screensaver. After this time the screen saver will become active, and is unblanked when the mouse is moved or a key pressed. There are a number of screen savers available. The settings for each can be changed by clicking on the 'Settings' button. The settings window that opens will depend on the screensaver currently selected. Most screensavers display moving graphics in your display, however DPMS requires some further explanation. DPMS is a particular type of blanking that can be used with most modern monitors. Instead of just blanking the screen it puts the monitor into a special low-power mode, which can be particularly useful with larger CRT monitors that consume a lot of power. Not only does this save electricity and prolong the monitor's life, the lower power consumption means that the monitor will produce much less heat when blanked. This can be an important factor in hot weather; but has the disadvantage that the monitor takes a couple of seconds to unblank. Click Set to confirm the settings. The Virtual Control Panel (VCP) allows direct control of settings on your display monitor. This is achieved through a communication protocol between computer and monitor. You will need a Vpod or Viewfinder graphics podule to use this feature. Some monitors may have very little in the way of physical control buttons on the front of the device. Such monitors may offer more control through the virtual control panel protocol than can be achieved directly on the unit itself. Important note - Not all monitors support or fully support this protocol, but you're likely to have most success with modern monitors. Your monitor may behave differently to others. 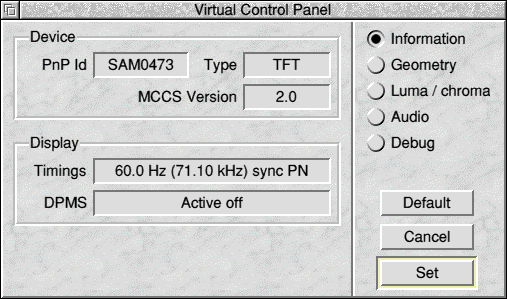 The Information page displays information read from your monitor. 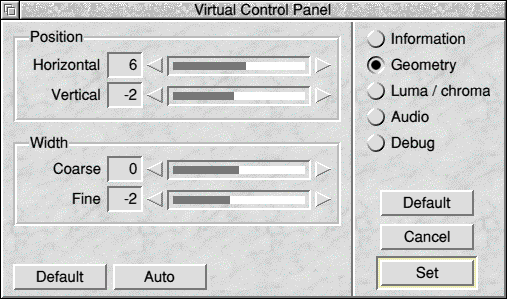 The Geometry page allows you to configure your display position as though you were doing so via the monitor's own menu options. 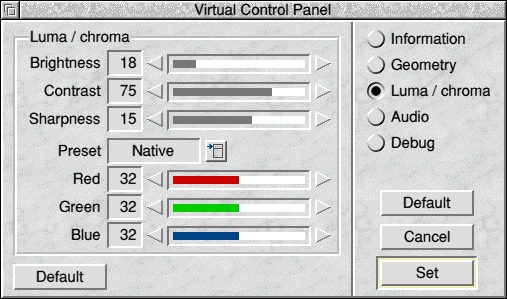 The Luma / chroma page controls settings for the display output colour, brightness and contrast. Additionally, sharpness is adjustable and you can choose from any Presets that the monitor supports. 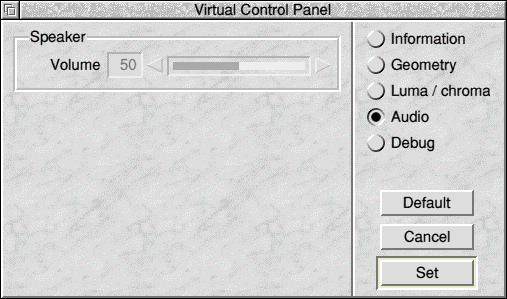 The Audio page gives control of speaker volume if your monitor has integrated speakers which support this. 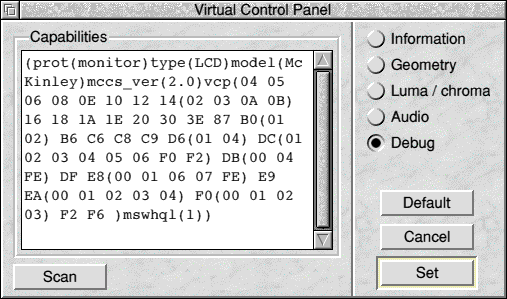 The Scan button on the Debug page will output some low level information that you can then copy to the global clipboard for pasting into a query to the developers. |
|
This documentation is copyright 3QD Developments Ltd 2013 and may not be reproduced or published in any form without the copyright holder's permission. RISC OS is subject to continuous development and improvement as such all information is provided by 3QD Developments Ltd in good faith and is believed to be correct at the time of publication E&OE. 3QD Developments Ltd cannot accept any liability for any loss or damage arising from the use of any information provided as part of the RISC OS Documentation. HTML document version r23142 (3rd November 2015) |